Reviving your Vector Robot
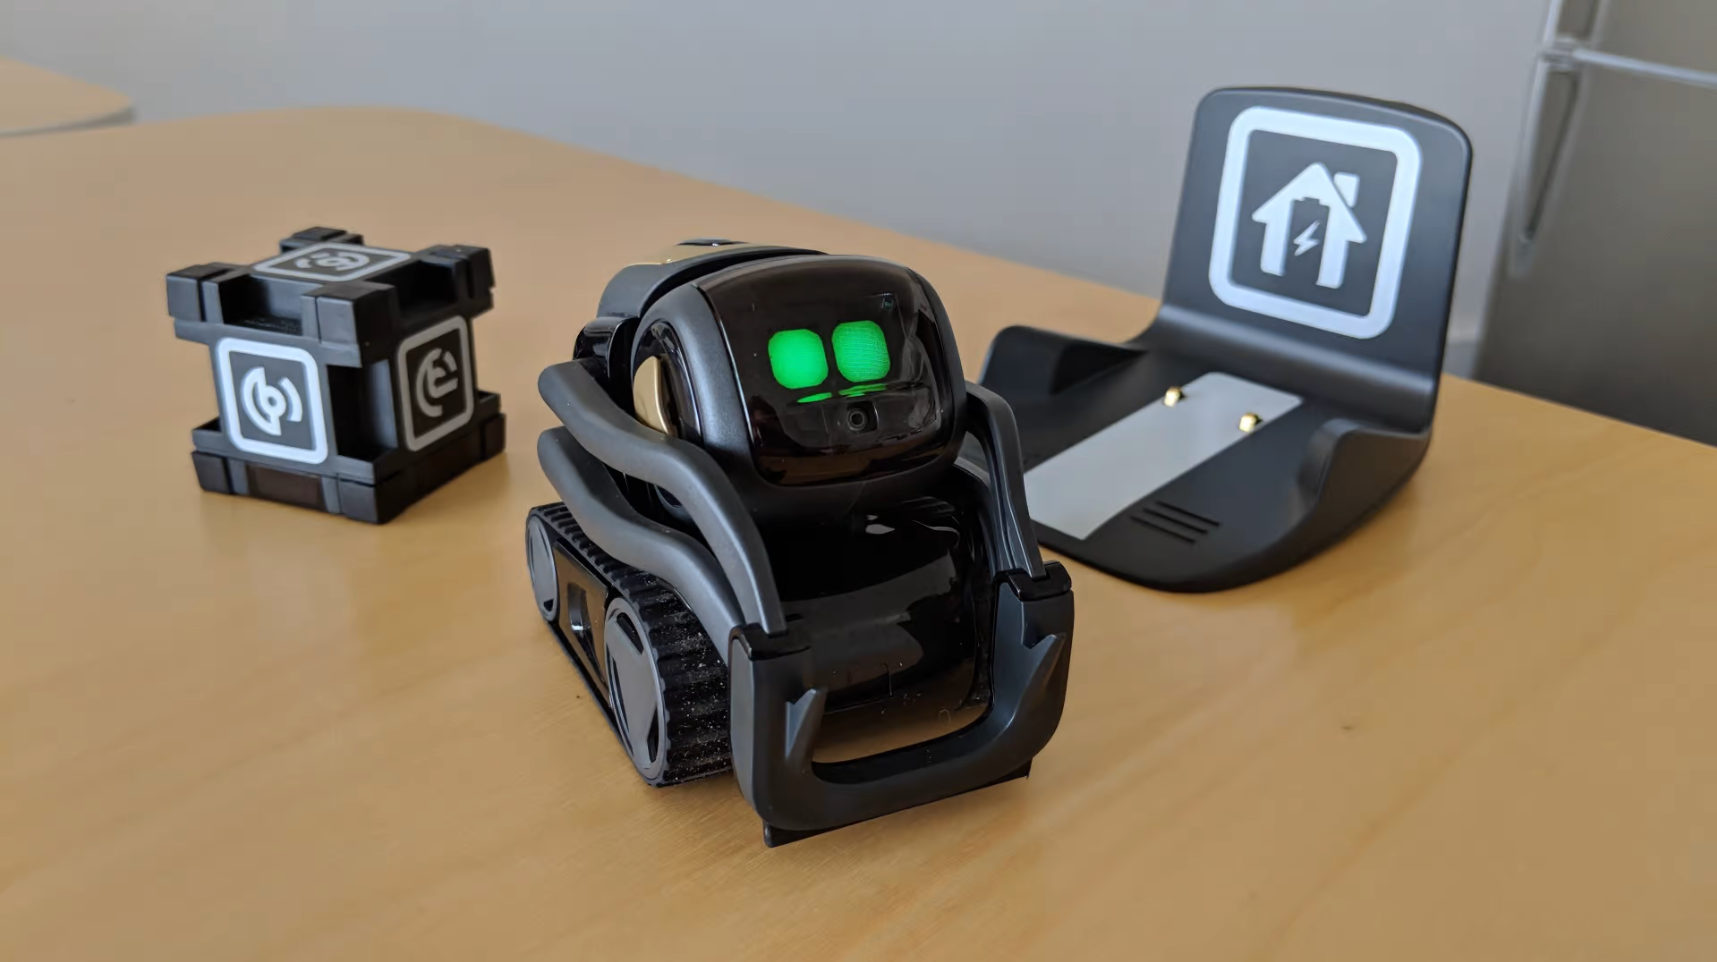
Table of Contents
What happened to little Vector?
If you are someone who picked up a Vector robot when they were announced you may have noticed that recently he no longer works and just sits there with a little screen that has a phone on it. Apparently Digital Dream Labs, the creators of Vector, neglected to pay their AWS bill for so long that Amazon shut down and deleted some of their server infrastructure. I guess they have never heard of backups or IaaC and didn’t implement this with their deployment. They are now rebuilding this infrastructure in Azure, but seemingly are running into issues? The information I am referencing is from this Reddit post where they mention that they had reached out to users back in December of 2024 but servers are still down. Also it seems that this server access was a paid subscription that they are still charging people for even though the servers have been down for a year now.
Regardless letting little Vector go to waste would be sad as he is a cute little guy once you can get him back up and running again. Thanks to the fact that Digital Dream Labs was at least gracious enough to make parts of their server infrastructure open source, the community has come together and built out all of the necessary components to get Vector up and running and host him locally yourself!
wire-pod
This is where wire-pod comes in. A community made guide and software that helps you get your Vector back up and running using the server backend that Digital Labs is using to run Vector and this is required seemingly for him to want to do anything even though he himself does have some onboard processing power, it seems any voice command processing is happening on the server and then a determination is made whether that voice command should reach out to the internet before returning response to Vector himself.
The wire-pod guide does a great job of covering things to get this running, but does miss on a couple of key parts, and doesn’t show much on the actual user interface of the webpage that you are now hosting locally to change settings and configurations with Vector.
Installation and Setup
The first step to getting vector up and running is you need to download a firmware to Vector that is from Digital Dream Labs that allows him to interface with the open source server. I am guessing originally this was intended to be for doing development work but with the community support is now a full fledged backend to easily bring back all his functionality.
This is mostly copied from the wire-pod installation docs as they have done a really good job of outlining things, but I have added a couple pieces of commentary and formatting to help make things a little easier to follow.
Vector Initial Setup
-
Put Vector into recovery mode. This can be done by setting him on the charger and holding his button for ~15 seconds. He will turn off. Keep holding until the lights come back on.
Note: At first I did not realize that Vector’s button on his back clicks when you press it. It has some play in it and isn’t super clear if you have pressed it as it moves a bit with just some pressure, but once you hear the click you know you’ve applied enough pressure.
-
Once he has reached the anki.com/v or ddl.io/v screen, open Chrome (some other Chromium-based browsers work too) on a device with Bluetooth support and go to https://wpsetup.keriganc.com
On this site, I would recommend using Chrome and ensuring that you don’t have any ad-blockers enabled or anything else that could interfere with the bluetooth settings. I originally tried this in Brave and could not get the bluetooth menu to pop up.
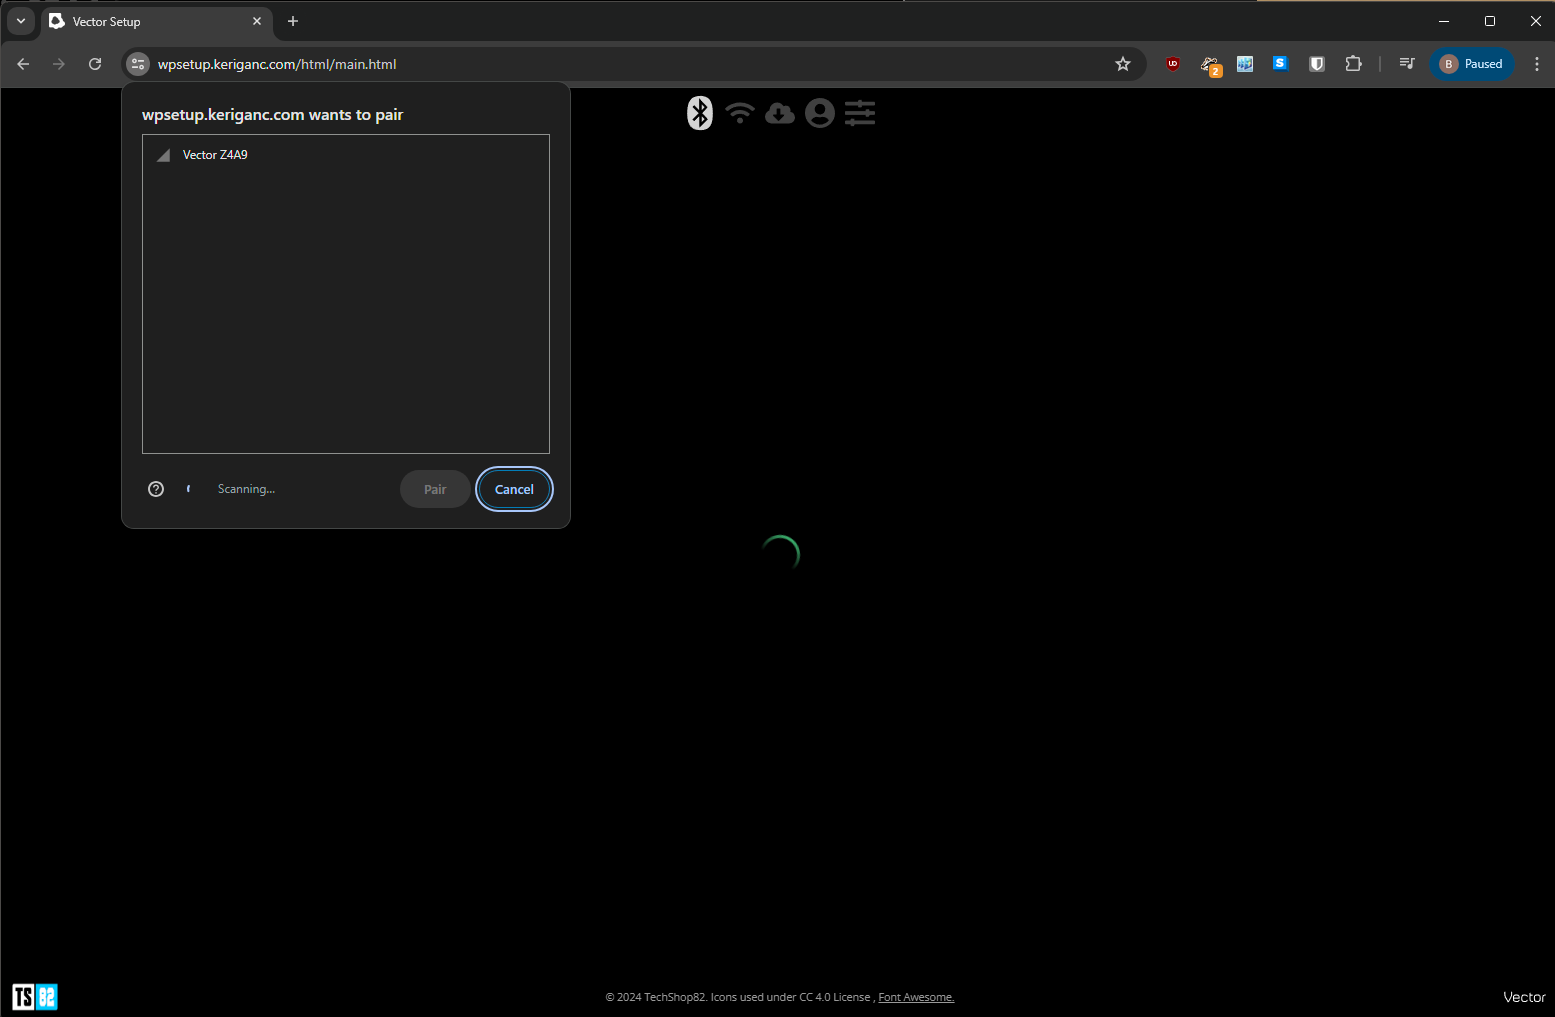
If you see this popup window and see the Vector listed then you should be good to go, from here you pair him and then he will present you a code that input in the browser.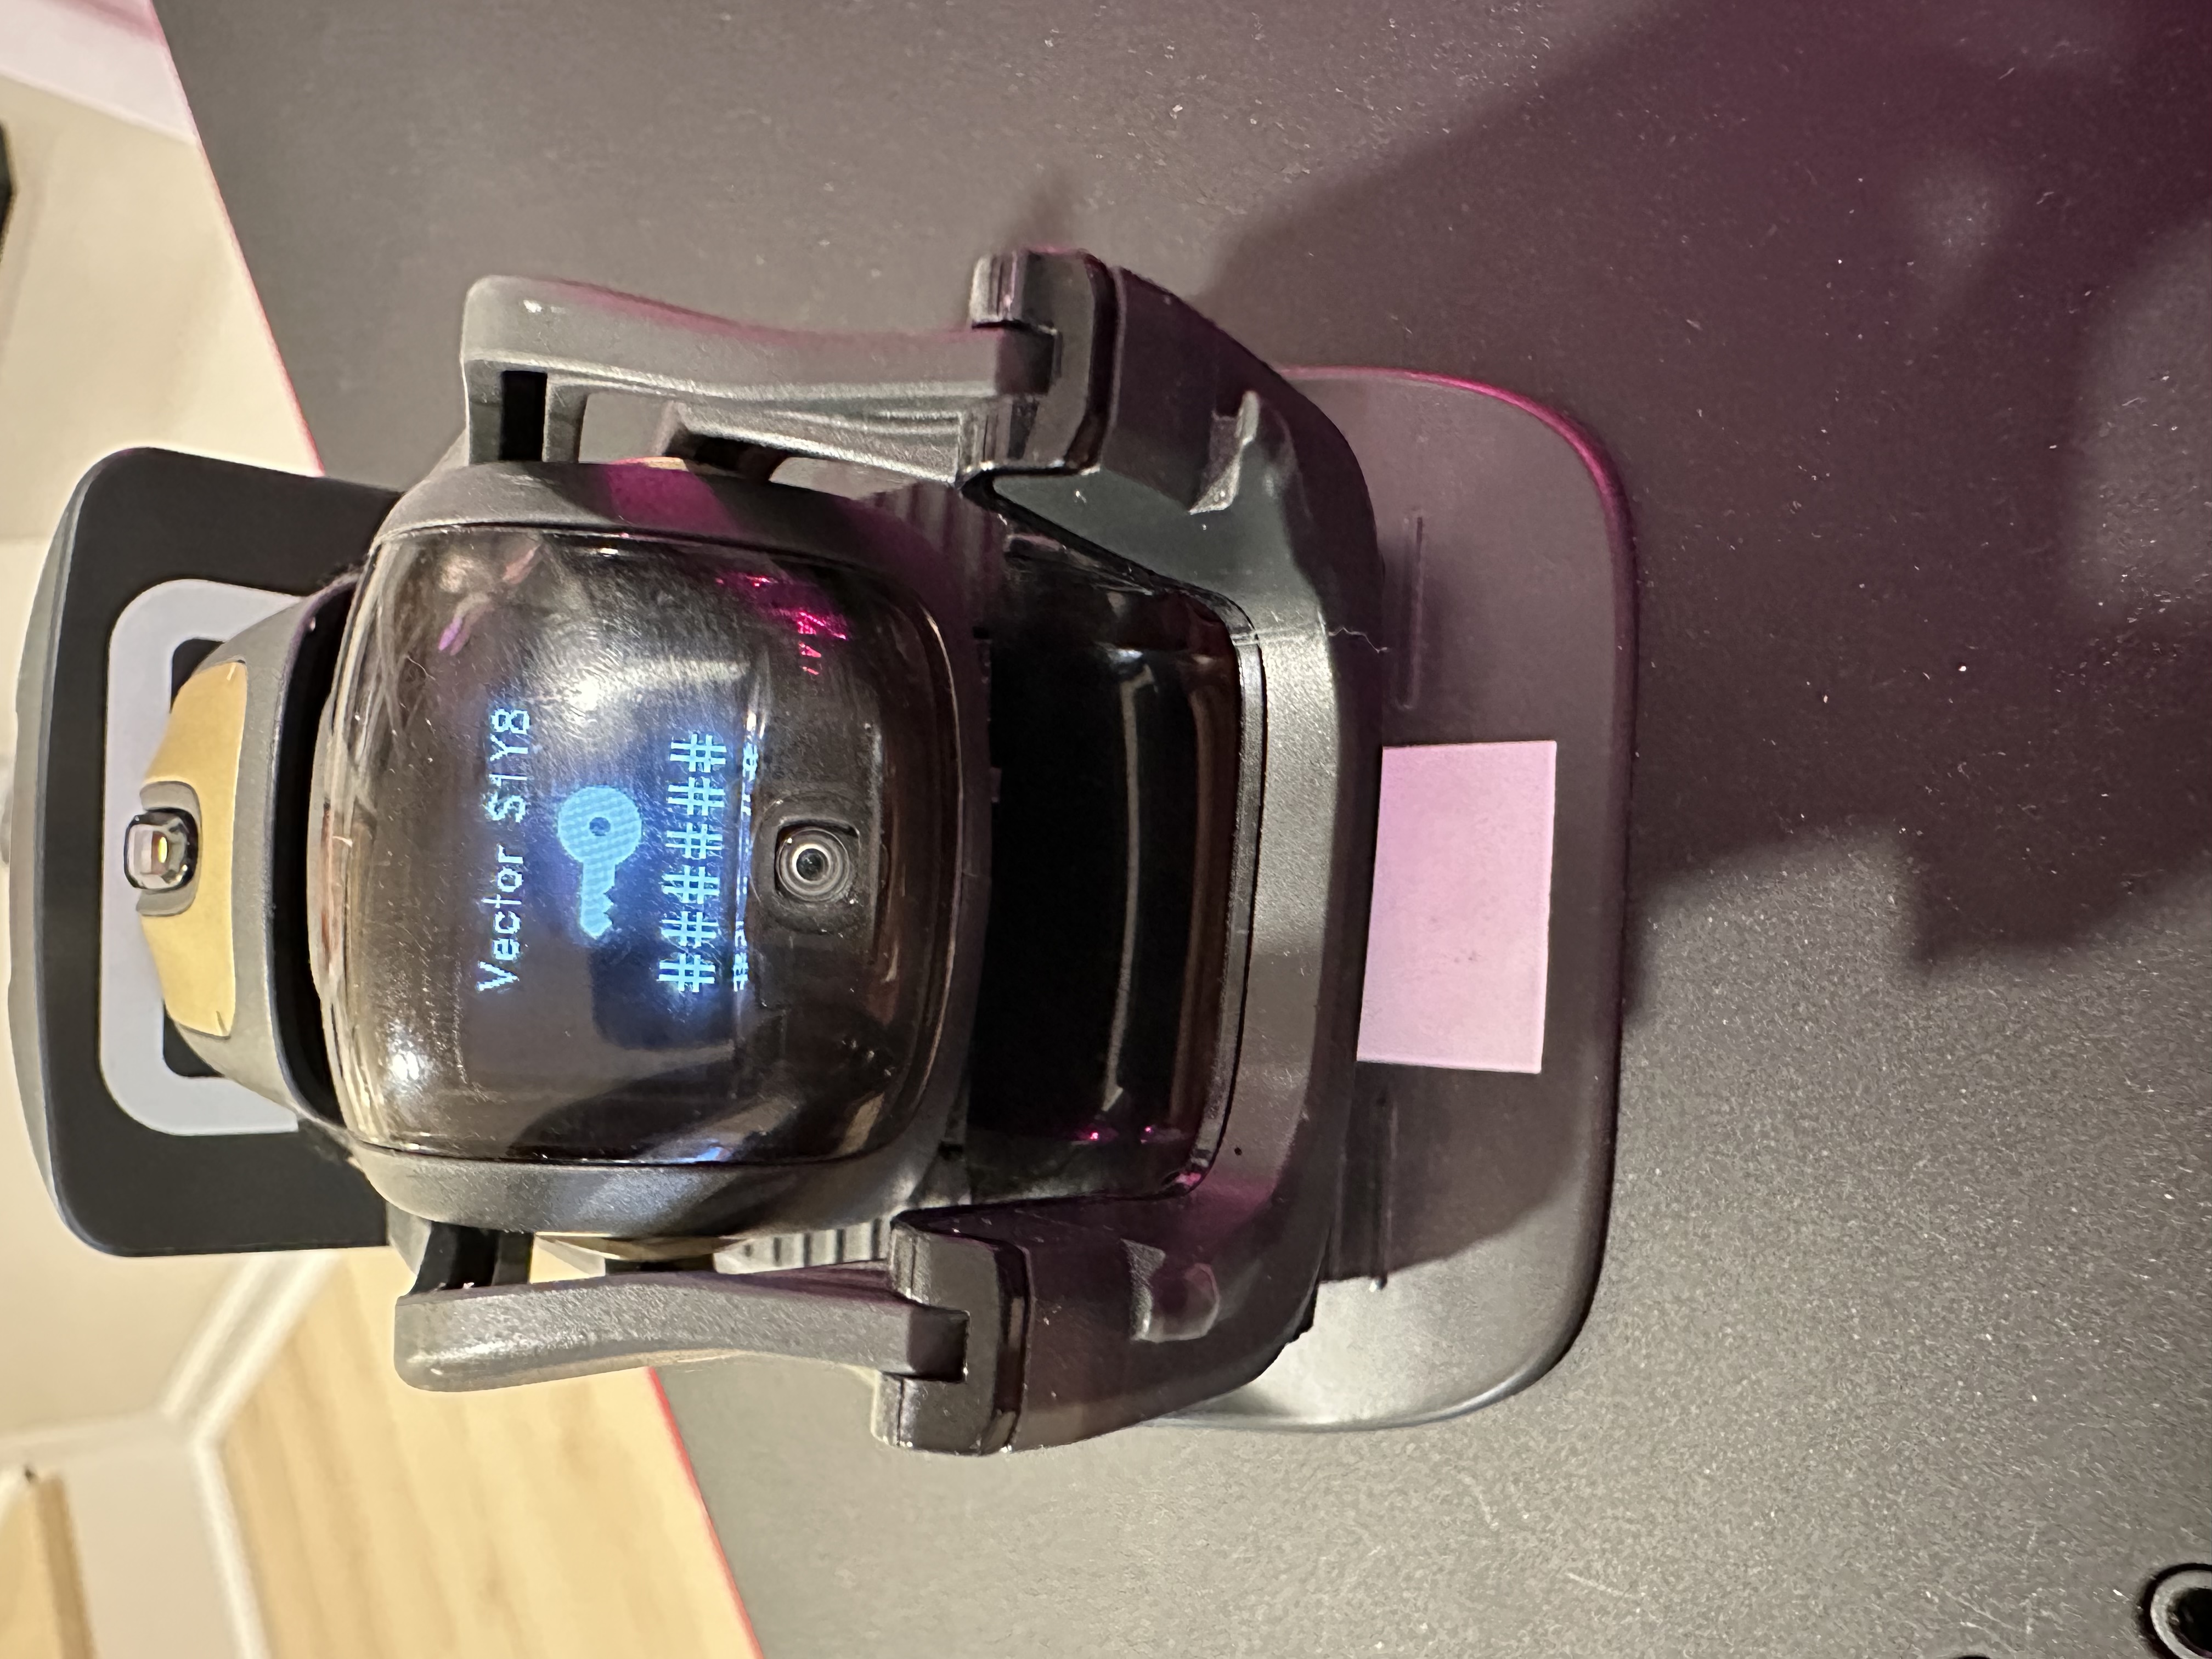
From there follow the instructions and let him download his software update. Once he is finished he will reboot and disconnect from that site, that is okay as that is all you need, and you won’t want to activate him on that site. -
When the update is done, clear your bot’s user data. Your bot can technically work with WirePod if you don’t, but weird behavior WILL happen and I am not responsible.
- Place Vector on the charger
- Double press his button
- Lift his lift up then down
- Take Vector off of the charger and twist one of the wheels until the cursor is on “RESET” (or “CLEAR USER DATA”)
- Lift the lift up then down again
- Move the wheel until the cursor is on “CONFIRM”
- Lift the lift up then down again
wire-pod installation and Setup
Once you have Vector setup and ready to go, now comes getting the wire-pod install setup and ready. This software can run on almost all operating systems and they have a guide for getting setup on Linux, MacOS, Android and Windows which is super cool. For this guide we are going to set up on a Raspberry Pi which I think is probably the best and easiest install for most people. If you have a server running Docker you can also set this up there, or if your Pi is running other Dockers you can add it there as it seems like this is a pretty lightweight application.
Prepping the Raspberry Pi
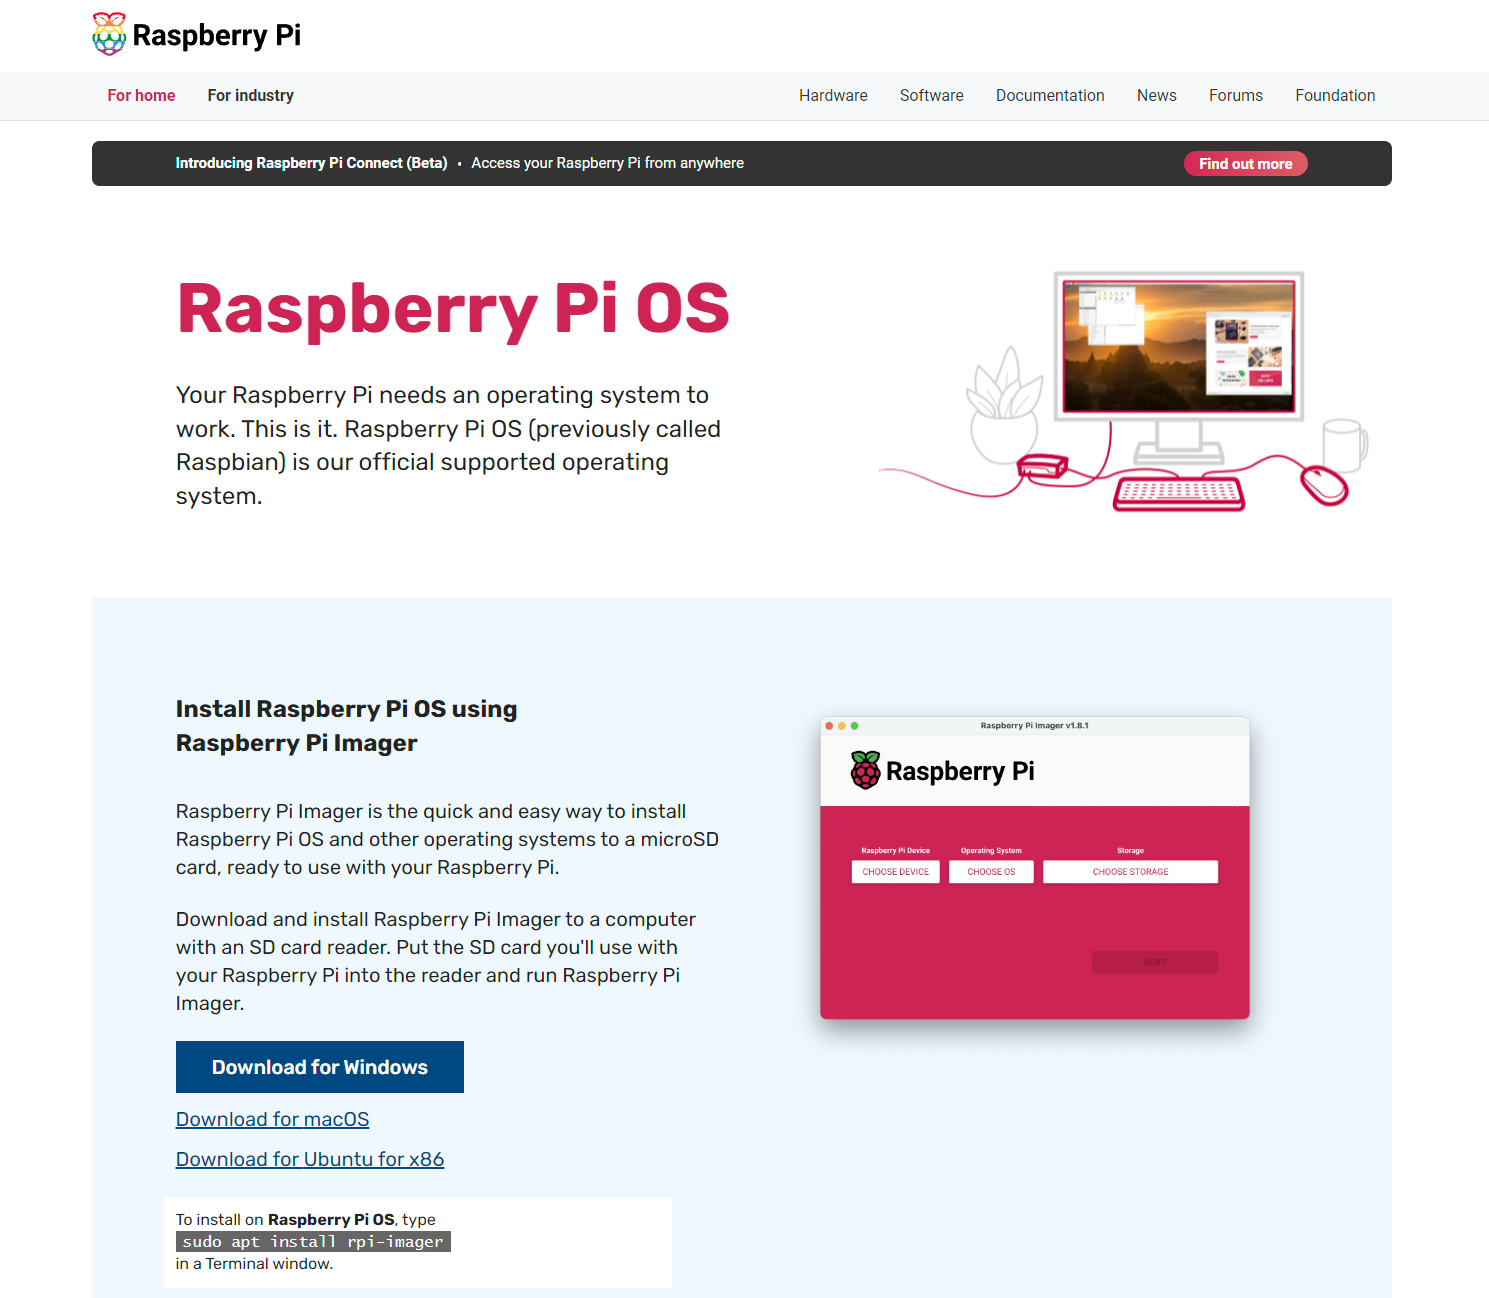
To get your Pi ready, go to Raspberry Pi’s website and download their Raspberry Pi Imager and get it installed on your PC.
With the Raspberry Pi Imager open and your SD card for your Pi plugged into your computer you can select the OS you would like to install on the SD card and some basic configuration options to get you going.
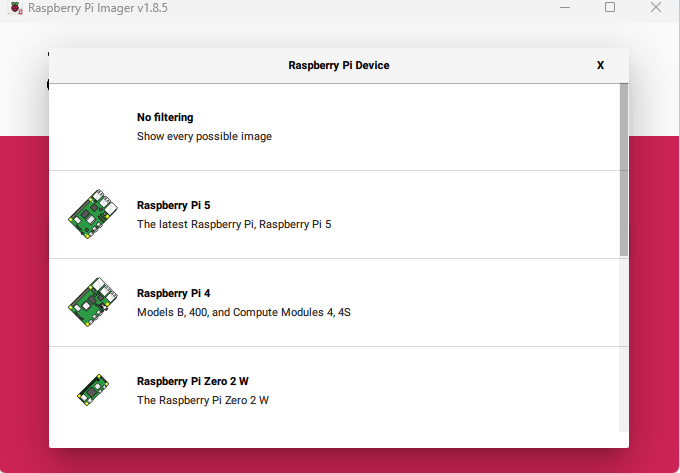
First select what Raspberry Pi you have. In my case I am using a RPi4.
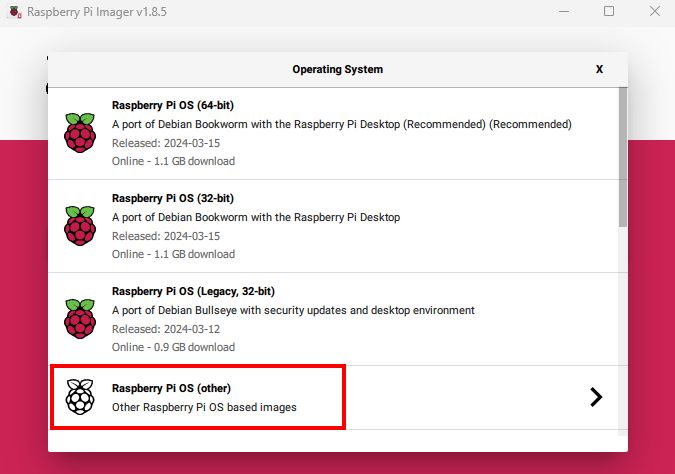
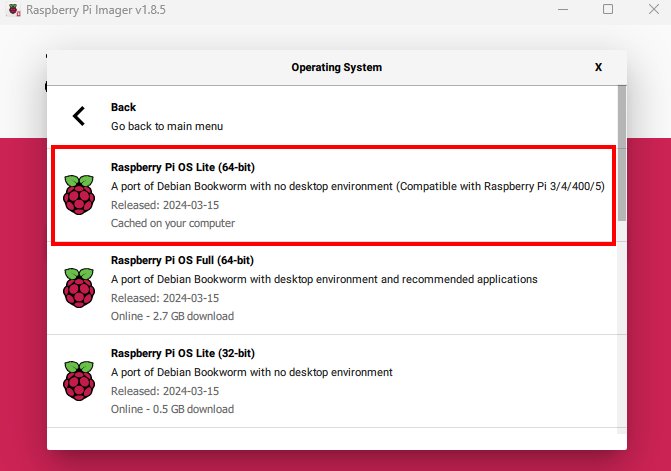
Then select what OS you want to run. In this case I am going to run the RPi OS lite version as it is all we really need for this software and is the quickest and easiest to download and install.
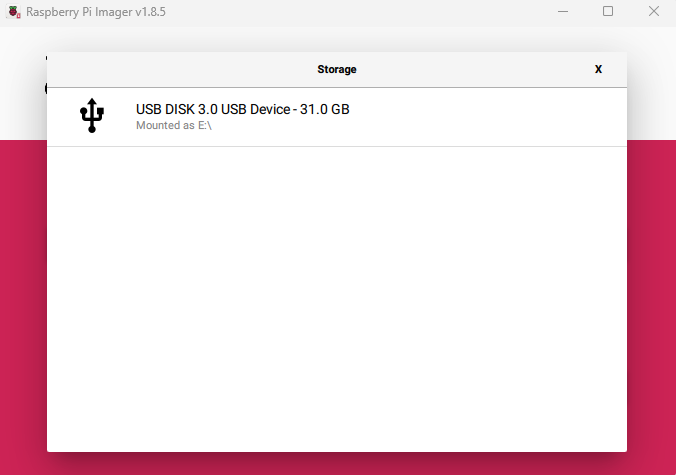
Lastly select your SD card that is plugged into your computer as the destination for the OS
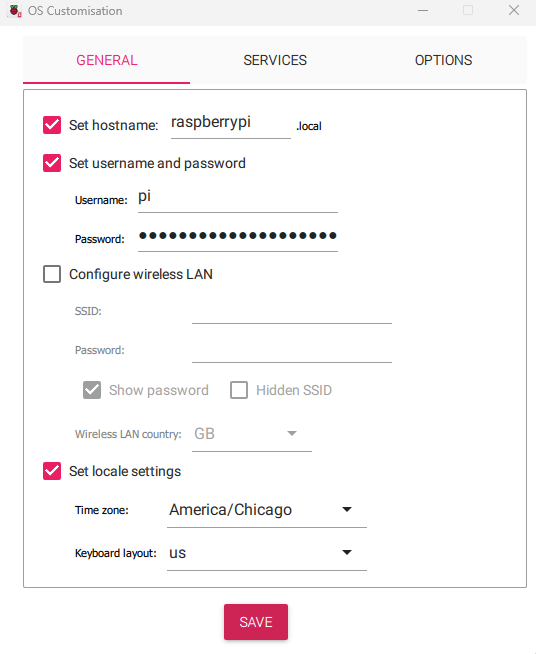
The next screen will allow you to edit some of the configuration settings and I would highly recommend doing so to make the setup that much easier when you boot your Pi.
- Here I am setting the hostname for the Pi so I can find it on my network
- Configuring the username and password that I can use to login to the Pi
- If I was connecting to Wifi, you could configure your SSID and password here. In my case I am hardwiring the Pi.
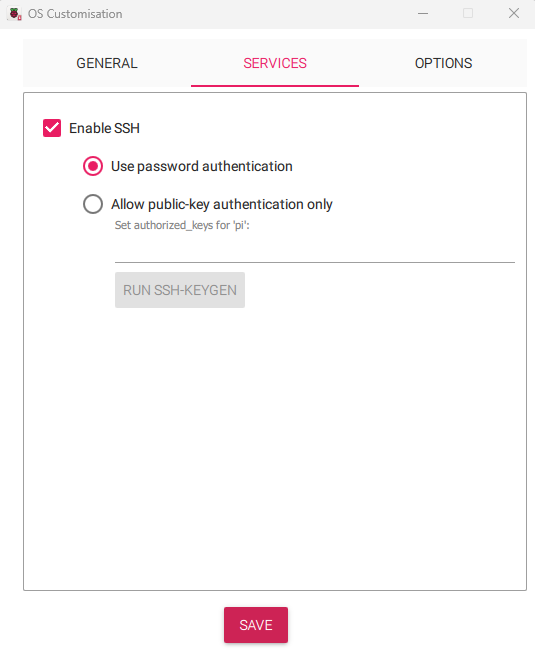
On the services screen make sure to enable SSH so that you can interact with the Pi once it is booted up and connected to your network.
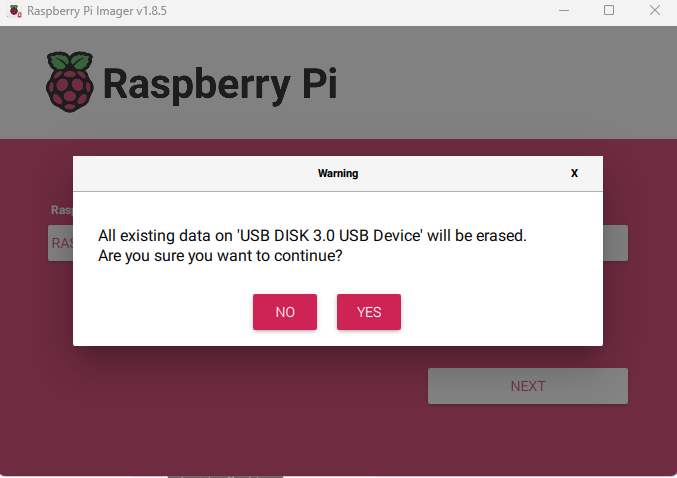
Finally accept the configuration settings you set and then click ‘YES’ to wipe the SD card and write the OS with the configurations to it.
Now plug the SD card into your Pi and boot it up. If everything network wise got configured correctly, in about 2-3 minutes you should be able to connect to your Pi on your network. If you are familiar with and have access to your router, you can check there for the Pi and see what IP address it has on your network, or if you don’t, you can try and connect to it via the hostname that you set in the configuration earlier.
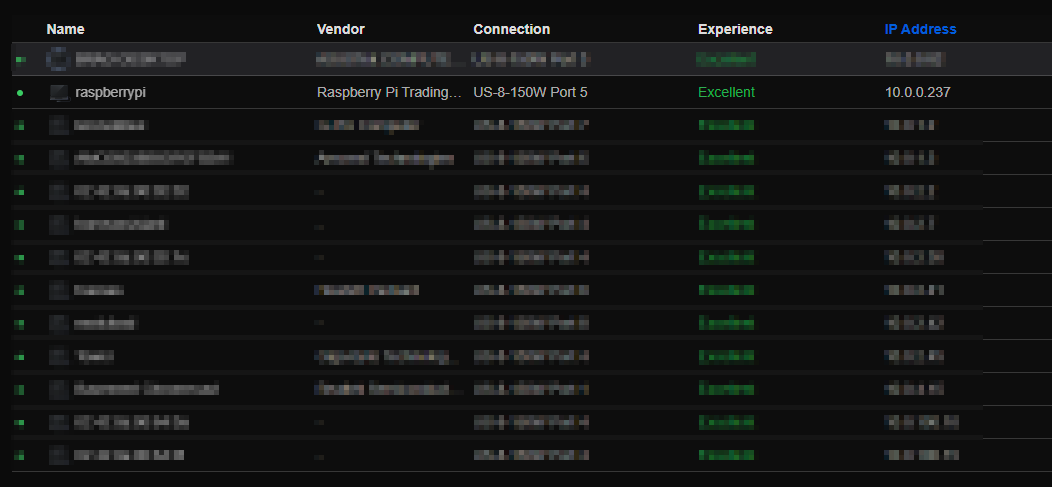
In my router configuration now that I have the Pi connected I can see it show up and it has the IP address of 10.0.0.237. That is what we will use to connect to it via SSH.
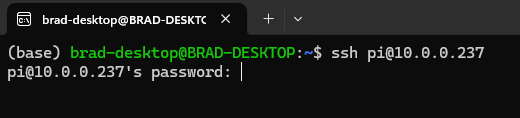
Open the command prompt on your computer and type this command in ssh pi@your IP address.

Note: If you can’t find the IP address for your Pi, you should be able to use this command with the hostname that we set in the Raspberry Pi Imager settings. If you followed the guide, it would be raspberrypi.
ssh pi@raspberrypi.Double note: later in this guide we are going to have to change the hostname to escapepod to get things working, so you can plug that into this command in the future to connect to your Pi since we will have updated it to that from raspberrypi.
After you type this command and press enter, it should prompt you to make sure you want to connect, you can type ‘yes’ and press enter. It will then prompt you for the password. This will be whatever you set in the configuration for the password earlier.
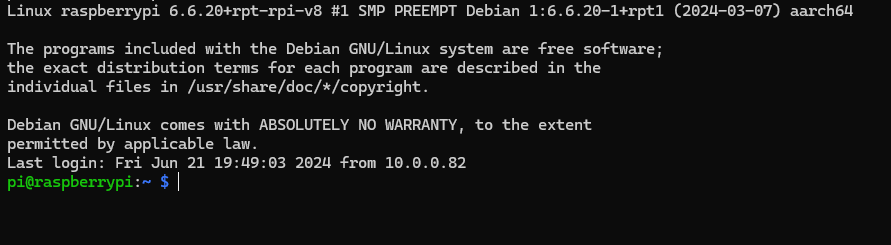
If everything worked you should be logged in. You will see this message and now your command prompt will be prefixed with pi@raspberrypi: ~$ which is your Pi’s terminal where we will get the wire-pod software downloaded and installed.
wire-pod download and install
Now that we have our Pi setup, we need to get the wire-pod software downloaded and installed. To do this we are going to need to navigate to the wire-pod downloads and find the right one for our OS.
Since we are running Pi OS we are going to follow their recommendations and install the armhf version. We could try the arm64 since we did install the 64bit version of Pi OS but we will go with what works since it shouldn’t matter.
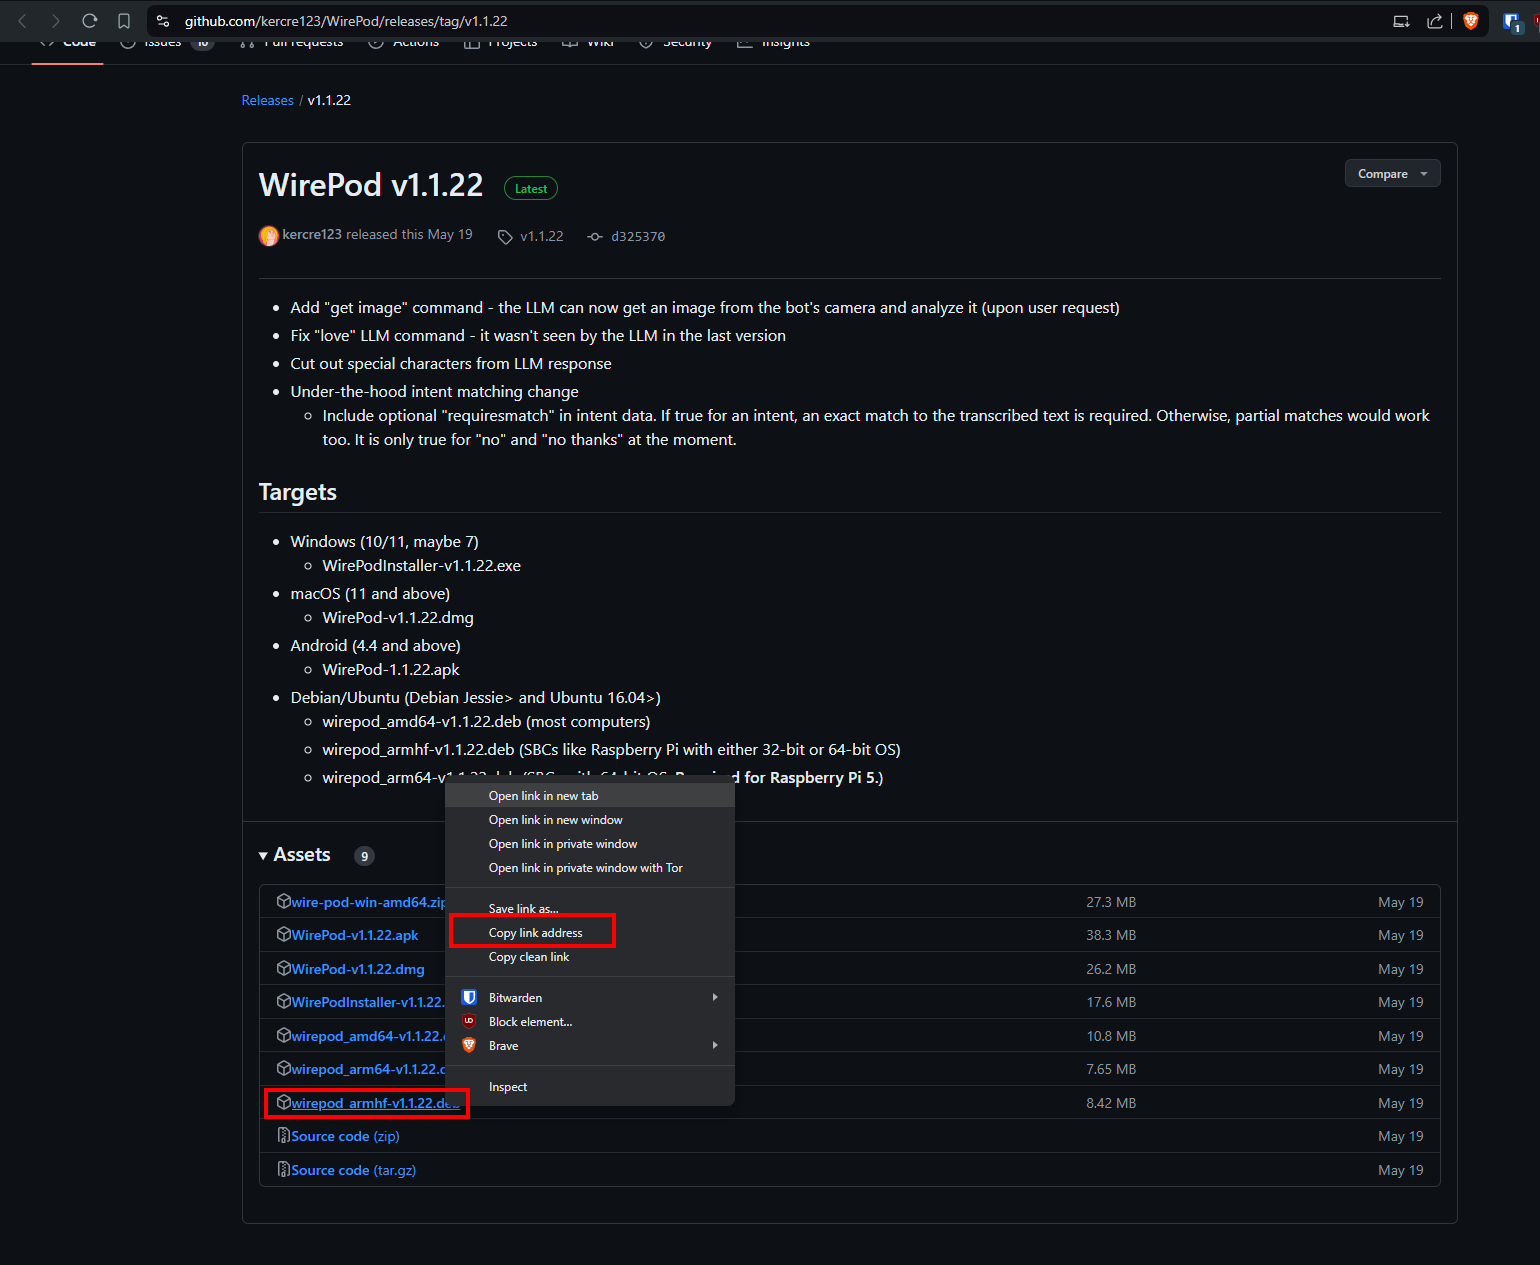
Navigate to the downloads page and right click on the armhf version and select “copy link address”
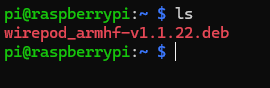
Navigate back to your terminal window where you are still logged into the Pi’s terminal and type wget and then paste the link you copied by hitting Ctrl + V.

Once that finishes you should be able to type ls and see the file downloaded.
Next type sudo apt install -y ./wirepod_armhf-v1.1.22.beb and press enter. This will go through and install the wire-pod software. Once you are finished you will see a prompt that says you can navigate to a web address to interact with the server. You can Ctrl + Click on that link or copy and paste it to your web browser. You may see a screen telling you this is not a secure website, that is okay since we are hosting it ourselves on our own network that is expected. (I forgot to capture a screenshot of this)

Before we get too far though, let’s make sure that we have the wire-pod software set to run each time that we reboot our Pi. Back on the terminal with the Pi connected in the terminal type systemctl status wire-pod. You should see that the service is active and running.
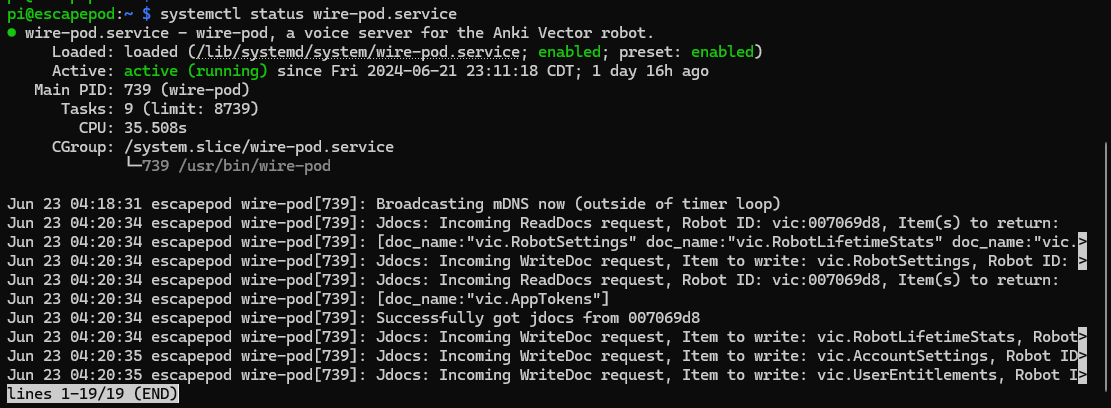
Next type systemctl enable wire-pod. This will set the wire-pod service to run each time the Pi starts this way if you need to turn it off, move it, or lose power, when it turns back on it will start this up automatically for you.
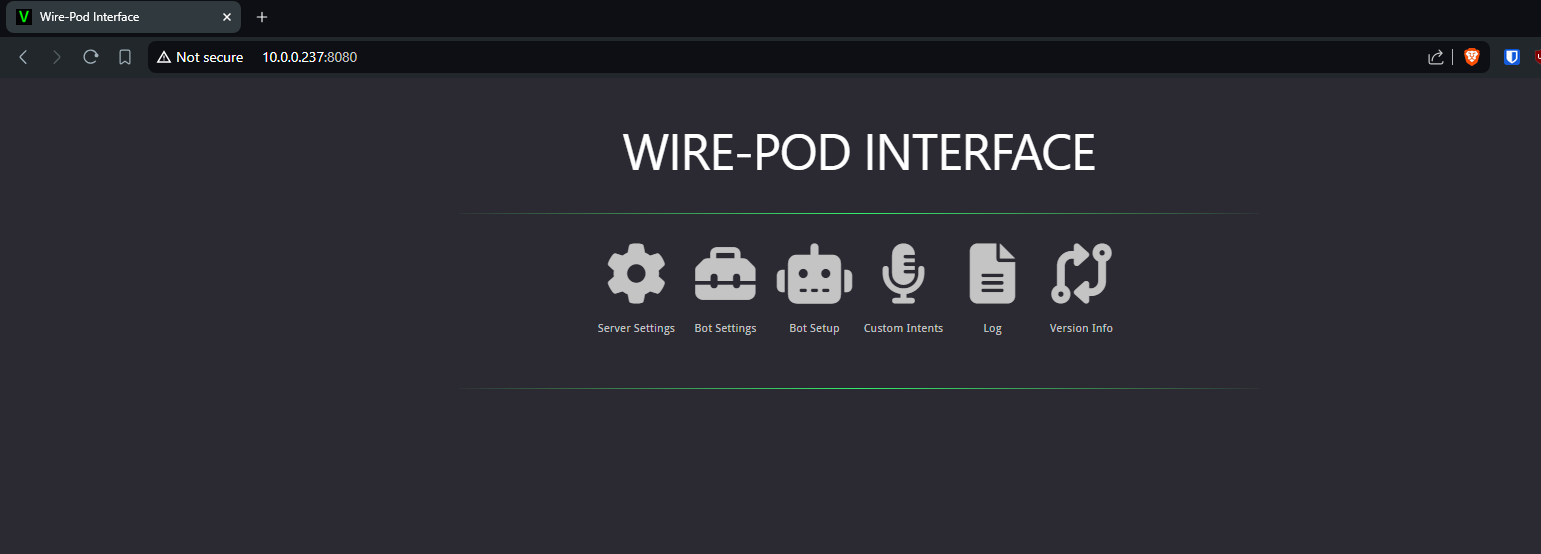
Back on the web page that you navigated to it should take you through some configuration options for first time setup. I failed to capture a screenshot of this as well, but there is not much there and the defaults can be configured. Once you have done so, you will be brought to the main page for the wire-pod server where you can interact with your Vector!
The first step here will be getting your Vector authenticated to wire-pod which did give me a little trouble.
Authenticating Vector to wire-pod
-
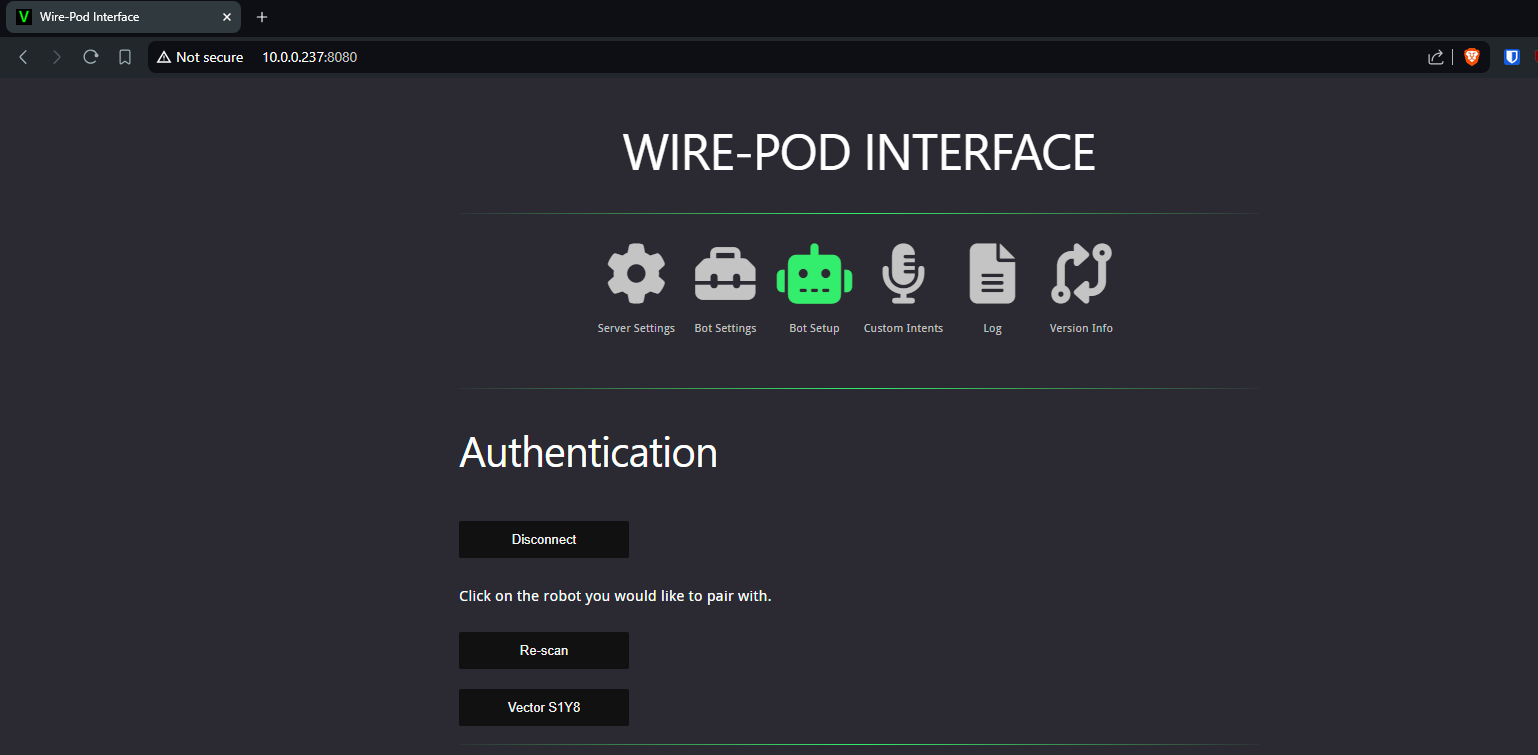
Head to the WirePod interface and click “Bot Setup”. Follow the instructions in the “Authenticate” section. Here you can click authenticate and then it will search with bluetooth from the Pi to try and connect with the Vector so make sure they are within range of one another.
-
You will then be brought to a screen to configure Vector to talk to your Wifi. Make sure that whatever network you connect him to is the same network that the Pi is connected to otherwise this won’t work.

-
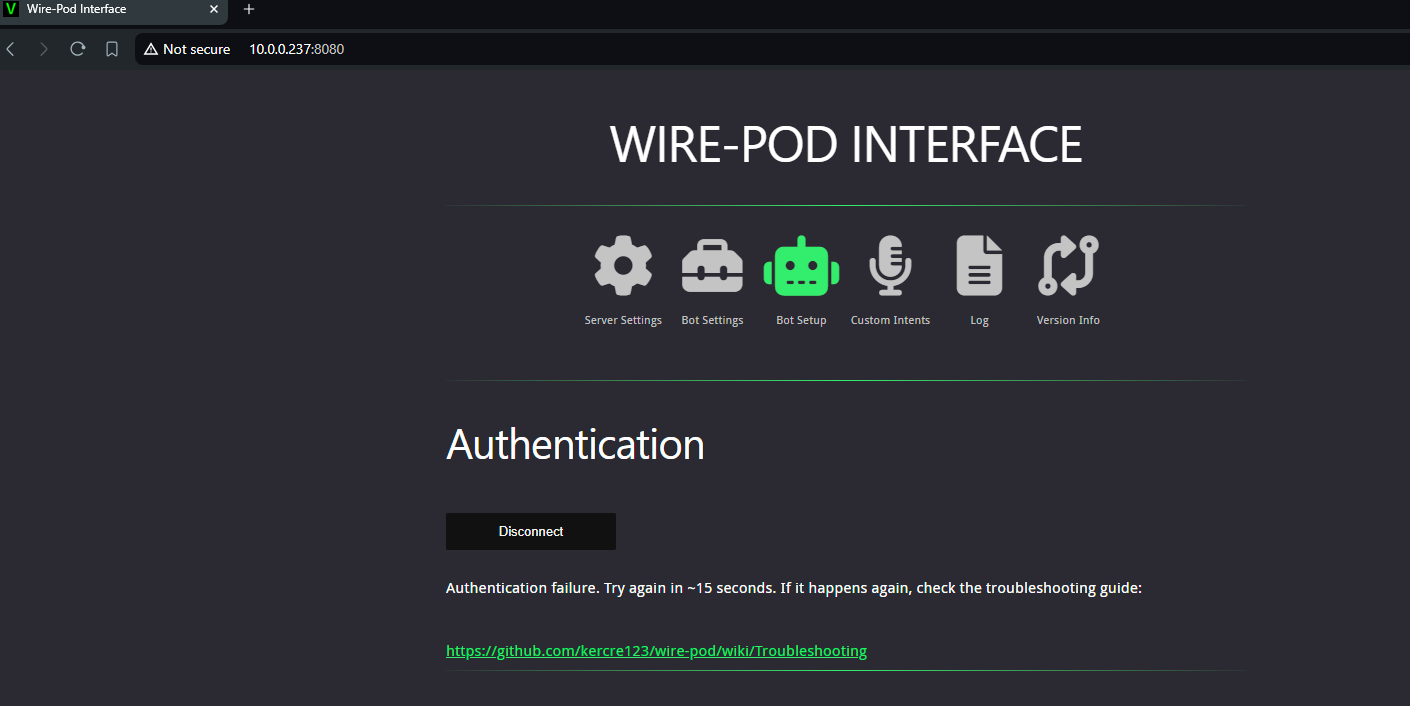
This next step is where I started to have some issues and could not get Vector to connect. I ended up looking at the wire-pod troubleshooting guide and tried changing the hostname of the Pi to escapepod as that is what is recommended. This fixed my problems with his authentication.
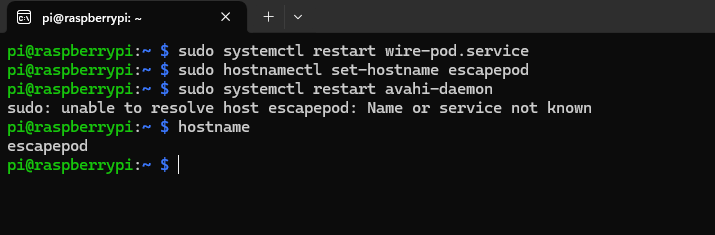
To set the hostname on the Pi you can follow these commands
sudo hostnamectl set-hostname escapepodsudo systemctl restart avahi-daemonYou may see an error after doing this, that is fine.
hostnameThis is to confirm things worked correctly. It should now show escapepod
systemctl restart wire-podDo this just for good measure so that the wire-pod items understand things have changed.
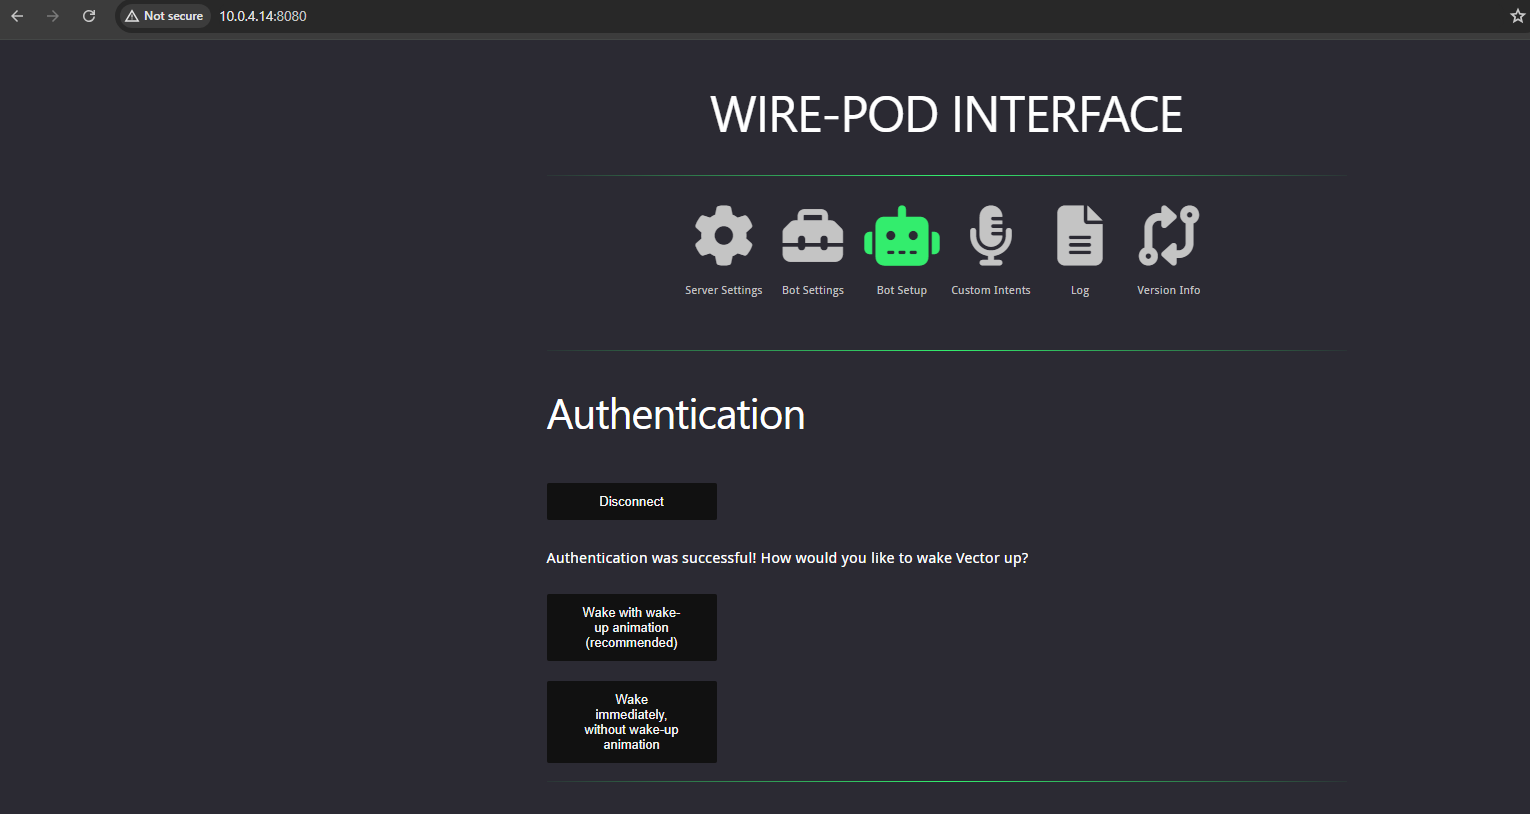
If everything went well you should see this screen and I would recommend selecting the recommended option they show there.
With that complete you can go back to the wire-pod homepage and select Bot Settings and then select your Vector to connect to. Here you can find all the configuration for Vector that you can tweak as well as look at his stats and a whole bunch of other information.
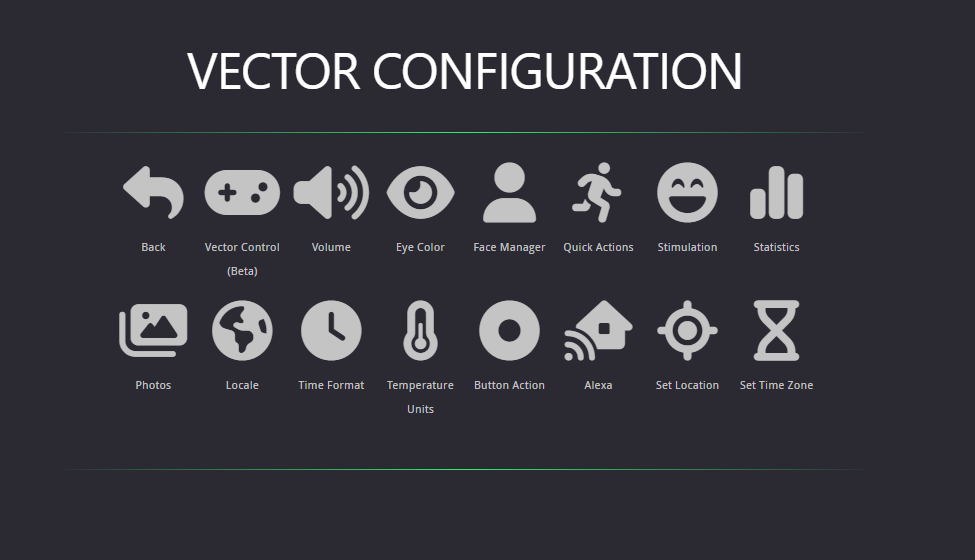
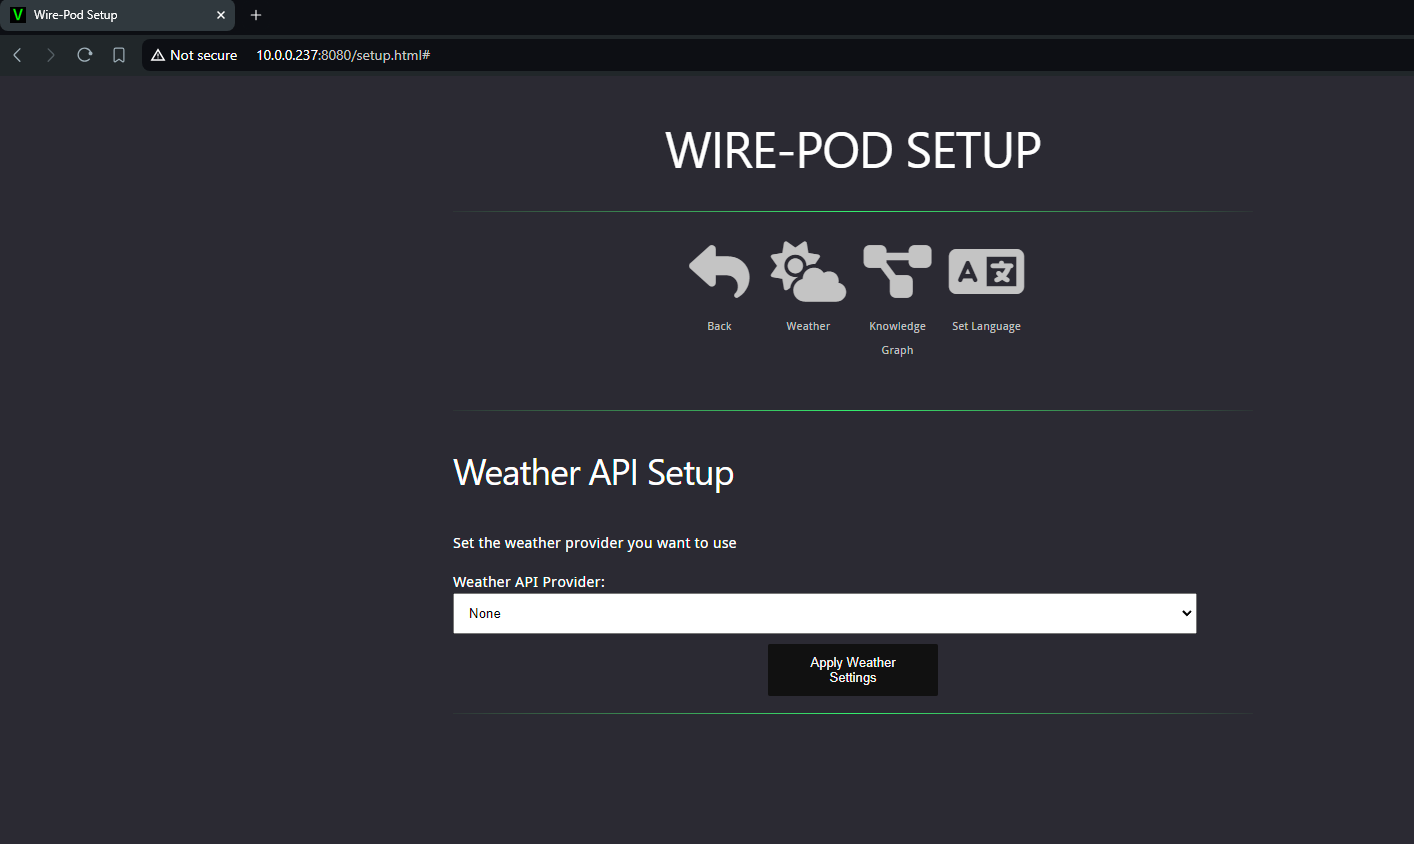
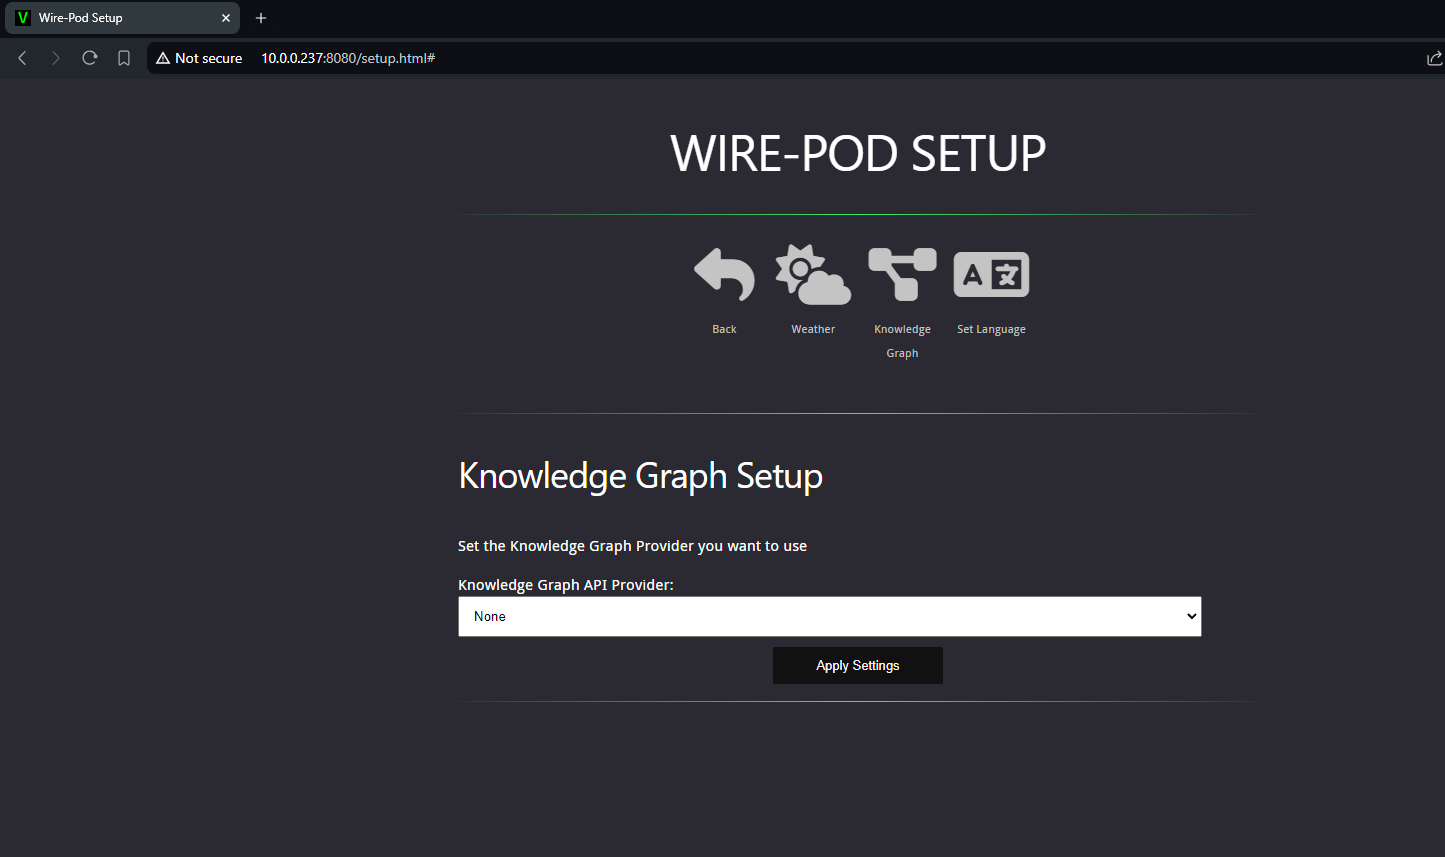
There are also other places in the wire-pod menus where you can configure things for your Vector like under the Server settings tile. Here you can configure an OpenAI API key as well as Weather API key to enrich the functionality of Vector with AI responses and detailed local weather information. Super cool.