Introduction to PowerShell
PowerShell is a programming/scripting language built specifically to help automate tasks that Windows system administrators found themselves doing over and over again. PowerShell is a command line shell and has thousands of different commandlets that are built in that allow you to do all sorts of things on a Windows system and within a Windows environment. It is seriously one of the most important tools for every IT admin to know and understand how to use. It has virtually unlimited use cases as you can script just about everything you could think of that you would normally do through the GUI in Windows. We are going to have a lot of articles that cover PowerShell as there is so much to talk about and so much that it can do that will help you become an amazing and efficient Windows system admin.
How Do You Use PowerShell?
PowerShell comes pre-installed on every Windows desktop and Server install. You can also install PowerShell core which is a standalone version of PowerShell that can run on systems other than Windows. We aren’t going to get into that in this article but plan to in a dedicated one.
To start you can open PowerShell by going to your start menu on Windows and typing in PowerShell
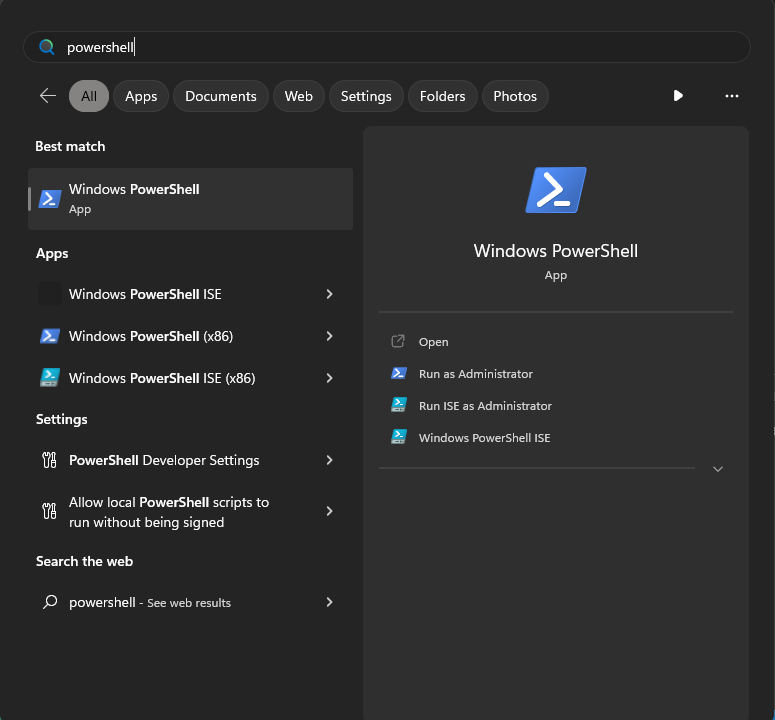
You can see there are a couple of options that come up. We have our standard PowerShell app at the top, then we have PowerShell ISE which we will cover shortly, then PowerShell (x86), and finally PowerShell ISE (x86) so which one do we choose? For now pick the standard PowerShell app that is at the top. We will cover the others here in a second.
Once you open PowerShell you will see that it looks pretty similar to Command Prompt. There honestly really isn’t anything different, is there?
Let’s run our first command and we will begin to realize there is something different going on here. Run the command Get-Command and see what it gives us.
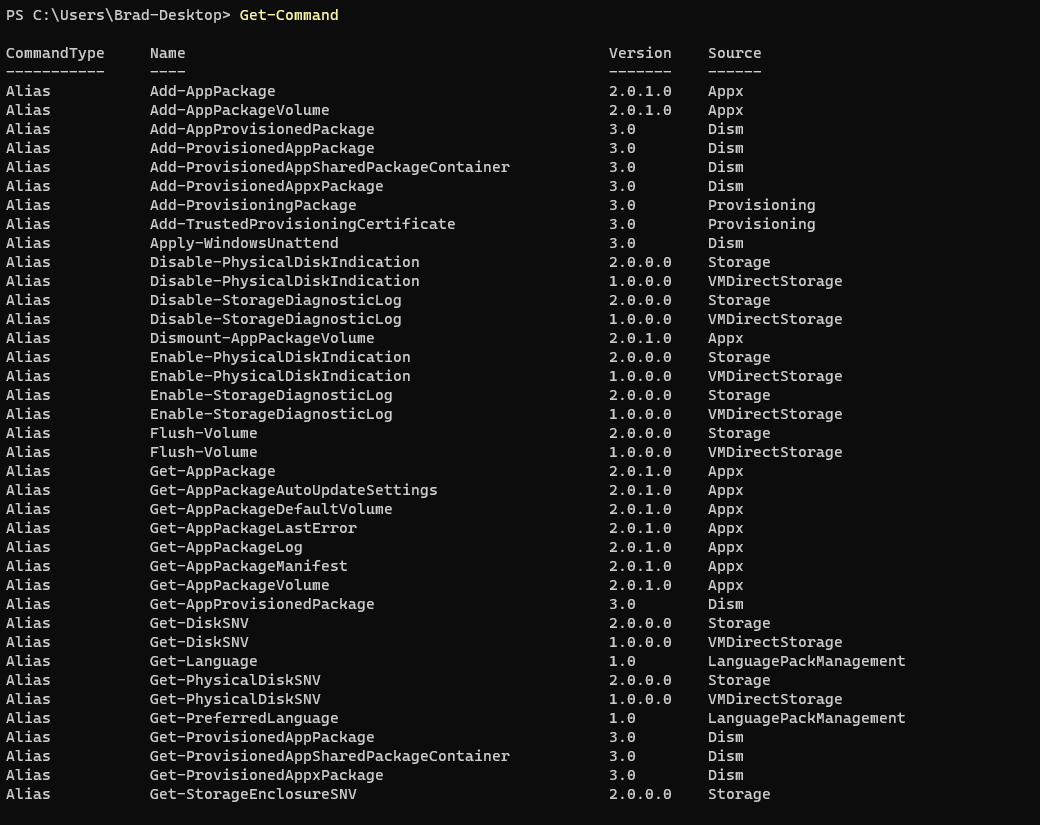
This command gives us a ton of output and you will see your screen scroll with a bunch of text for a couple of seconds. This command we just ran shows us all of the commands available to us in PowerShell. That is a lot! Why don’t we actually find out how many exactly. PowerShell has a really neat feature called the pipeline. In simple terms, it means we can take the output of one command and pipe it into the next so that we can perform an action on that output all in one go. We will cover this in more depth later but know this is a major feature of PowerShell that makes it so powerful.
Lets take our command Get-Command and this time we are going to pipe it into another command called measure. Type in Get-Command | measure
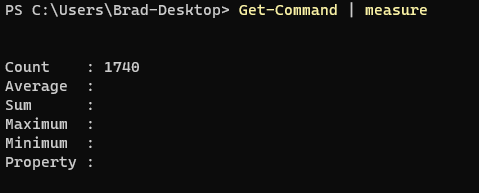
You can see our output isn’t showing us that huge scrolling list of text for all our commands anymore, instead it shows us something different. That is because we took the output of Get-Command and piped it to measure, so measure took each one of those commands that were written to our screen and did what it knows to do, which is measure them! We have a total of 1740 commands that we can use in PowerShell!
How do I use all of these commands? How do I even know what they all do??
PowerShell is very neat because it incorporates the commands that are available to Command Prompt as well as its own PowerShell commands. You could use PowerShell the same as command prompt to get some basic information about your computer, network, or complete other tasks, but what if we want to use PowerShell to give us more options and the ability to script in a modern language? Well let’s check out some of these other commands available to us.
With Get-Command we were able to see all of the commands available on our system, but now we want to use one but we have no idea how, well there is a command for that! The command Get-Help will allow us to get some more information on these PowerShell commands we have at our disposal.
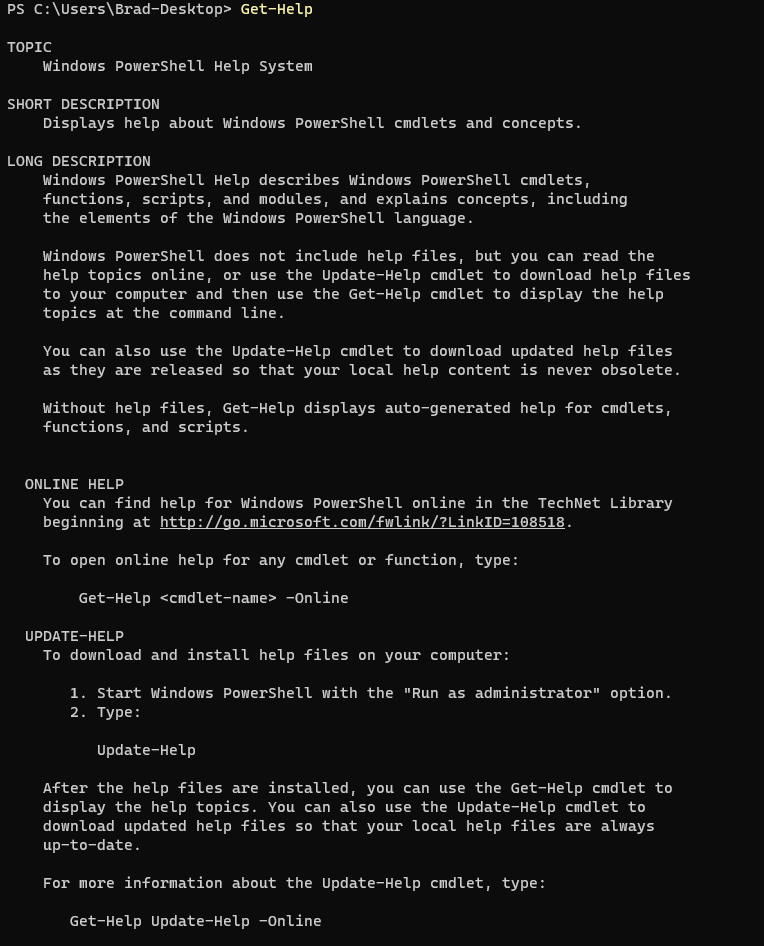
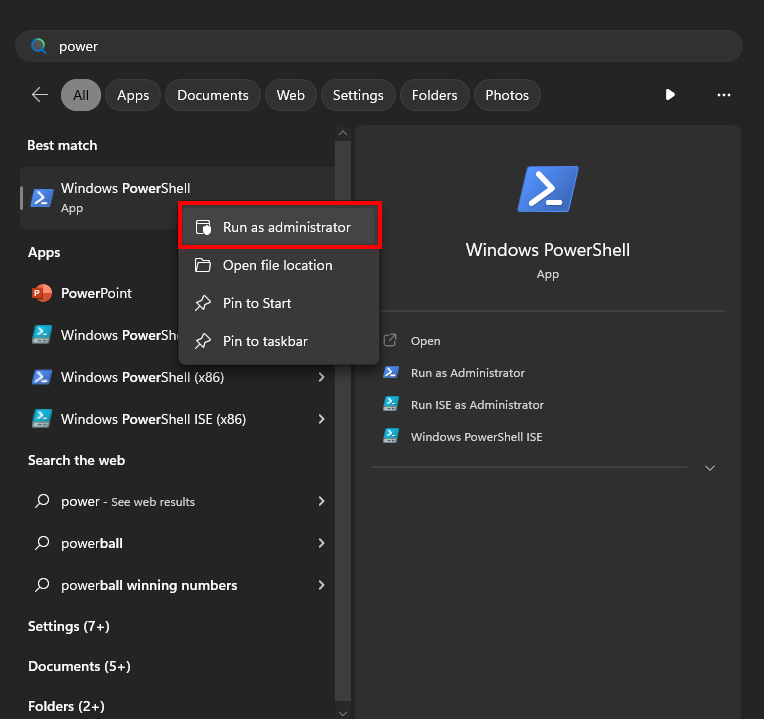
After running Get-Help you can see there is quite a bit of information that is output. This information is the help document for this particular command that will show us exactly how to use it, explain what it does, and even give us some examples of how the command could be used. You will notice though there is a part that talks about updating the help information, this is super important and is what we will do next. First close out your PowerShell window. We need to re-open PowerShell as an administrator to ensure that it can update all of the help documents for the commands we have on our system. Open the start menu and search for PowerShell again and this time right-click on it and select run-as administrator. Now this will launch PowerShell with Administrative privileges which will give us access to update all of the help documents. Run Update-Help.
This will take a couple of minutes as it will reach out to Microsoft and download the most updated help documentation for all 1740 commandlets we have on our system.
Get-Help Usage
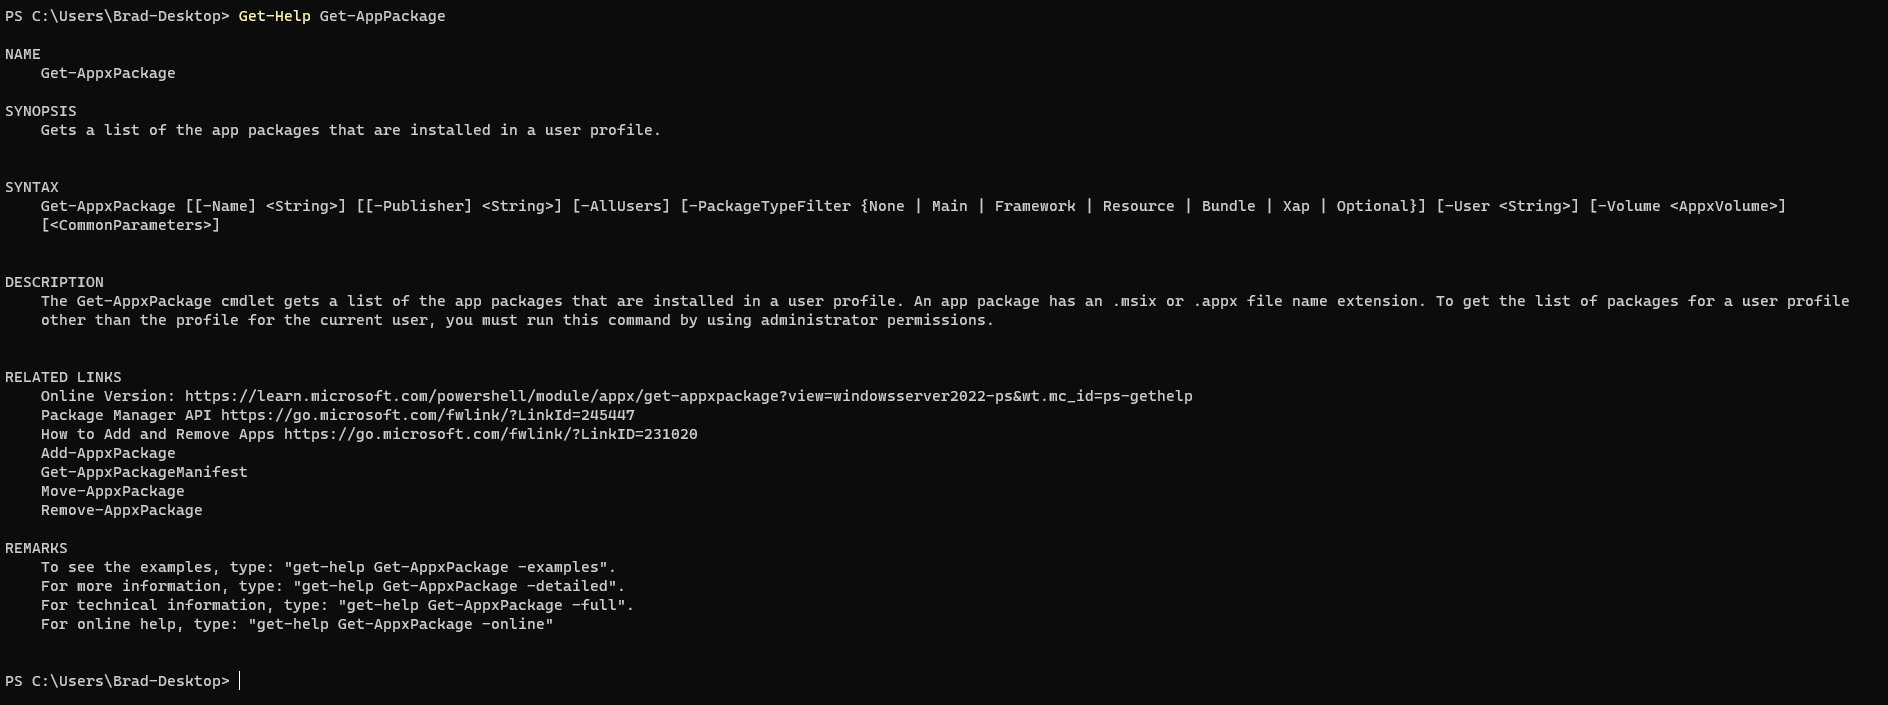
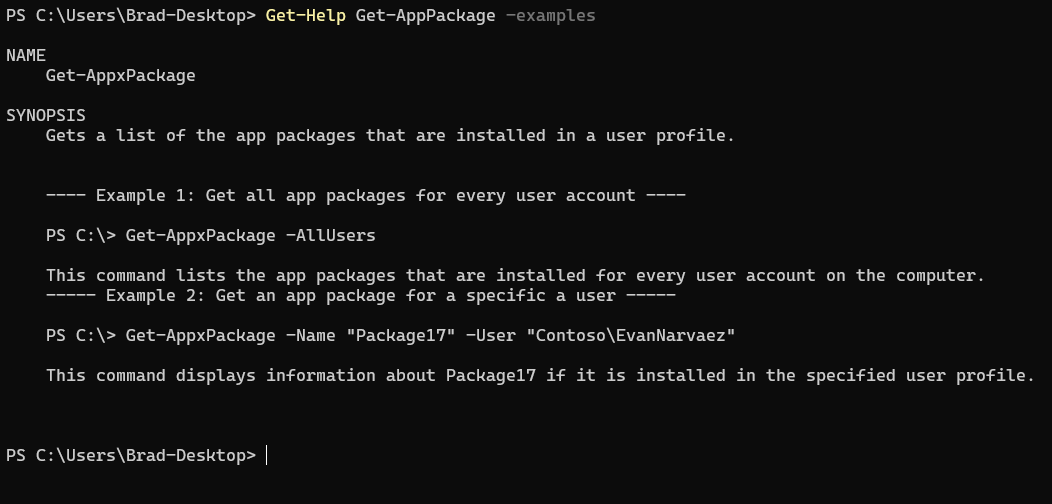
Now that we have updated our Get-Help documentation we can use this command to get information on all our other commands that are available on our system. We can now type Get-Help *any commandlet*. Let’s try out Get-Help Get-AppPackage. We can see that this command will get a list of the app packages that are installed on our user profile. We can also see the syntax for this command with the various options/switches that are available. If we add Get-Help Get-AppPackage -examples We could see how we should use this command.
What is PowerShell ISE?
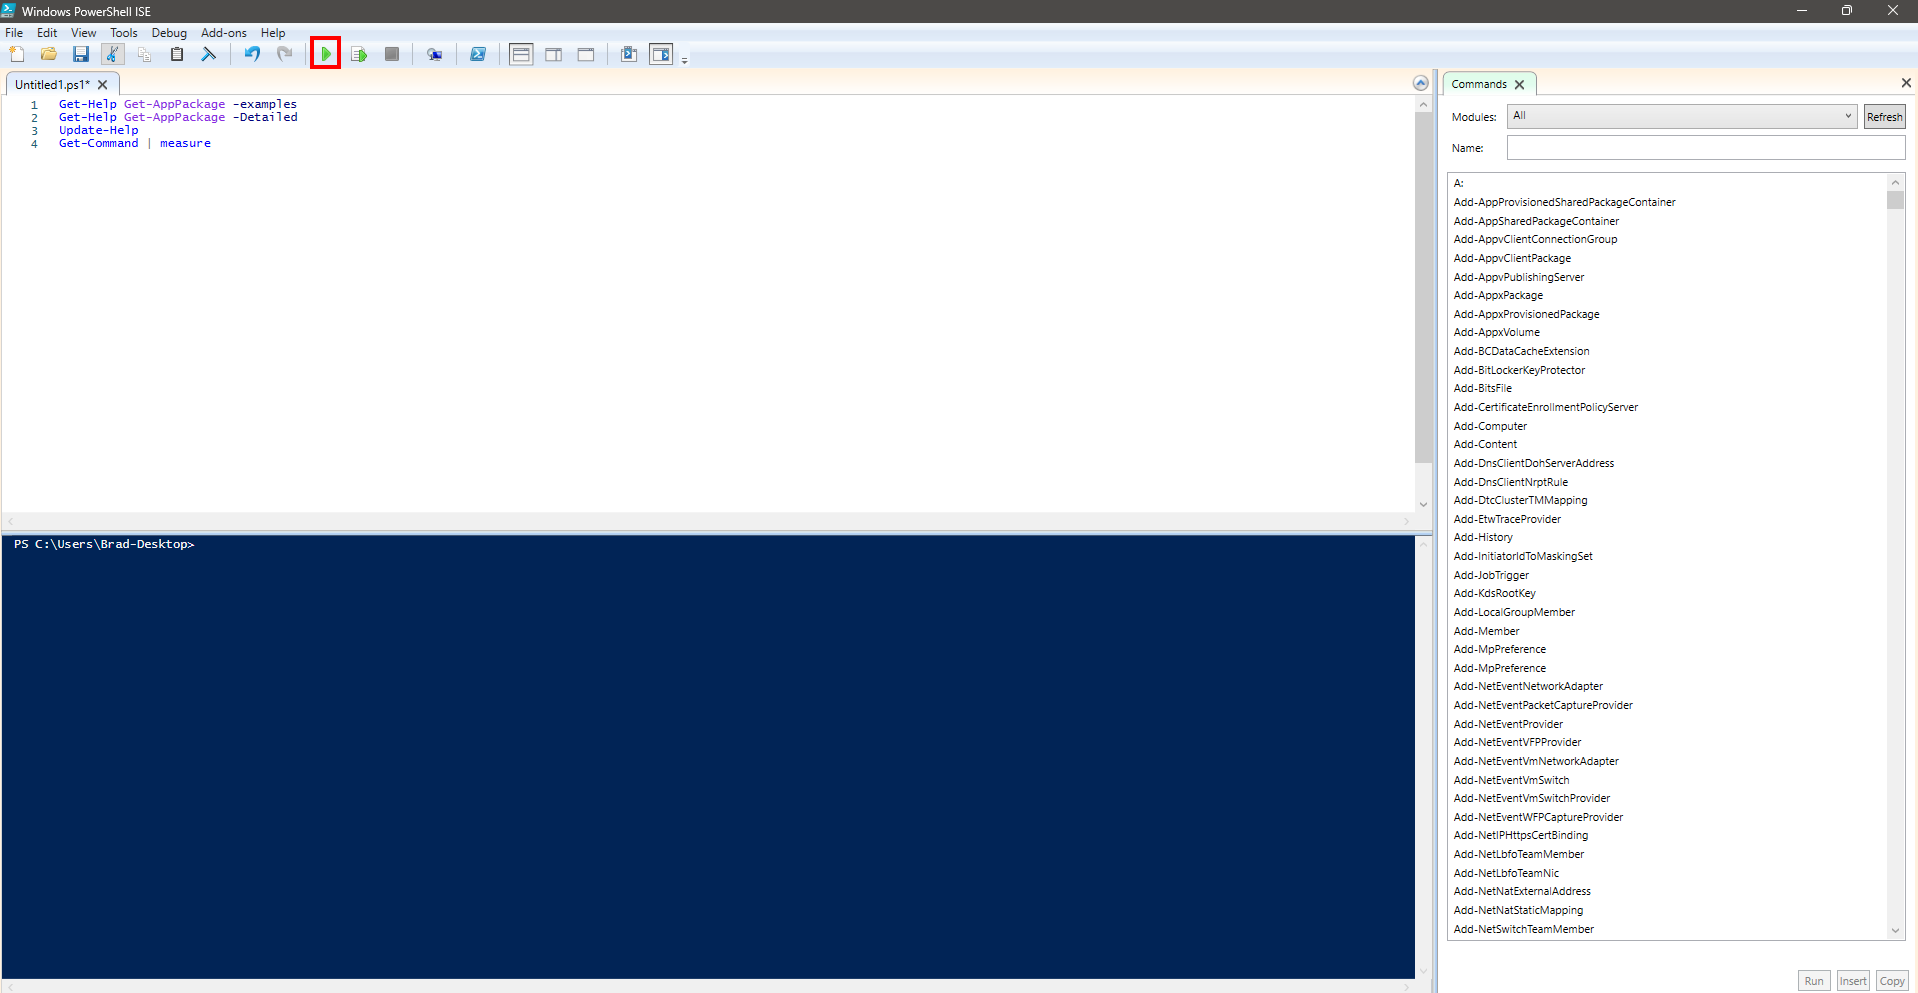
PowerShell ISE is a built-in software that allows you to create PowerShell scripts and code that can be saved and run on your computer, or another computer, or a server, or anywhere that PowerShell is installed. ISE is an unbelievably cool piece of software that comes with every Windows install. The ISE part stands for Integrated Scripting Environment and that it is. It allows you to take your PowerShell commands and put them in a place where they can be coded together to do amazing things. Let’s take a look real quick at what PowerShell ISE looks like. When you first open you are met with this screen, you will need to click the New Script button here at the top and you will be presented with what looks like a notepad page along with the familiar blue PowerShell command line below.
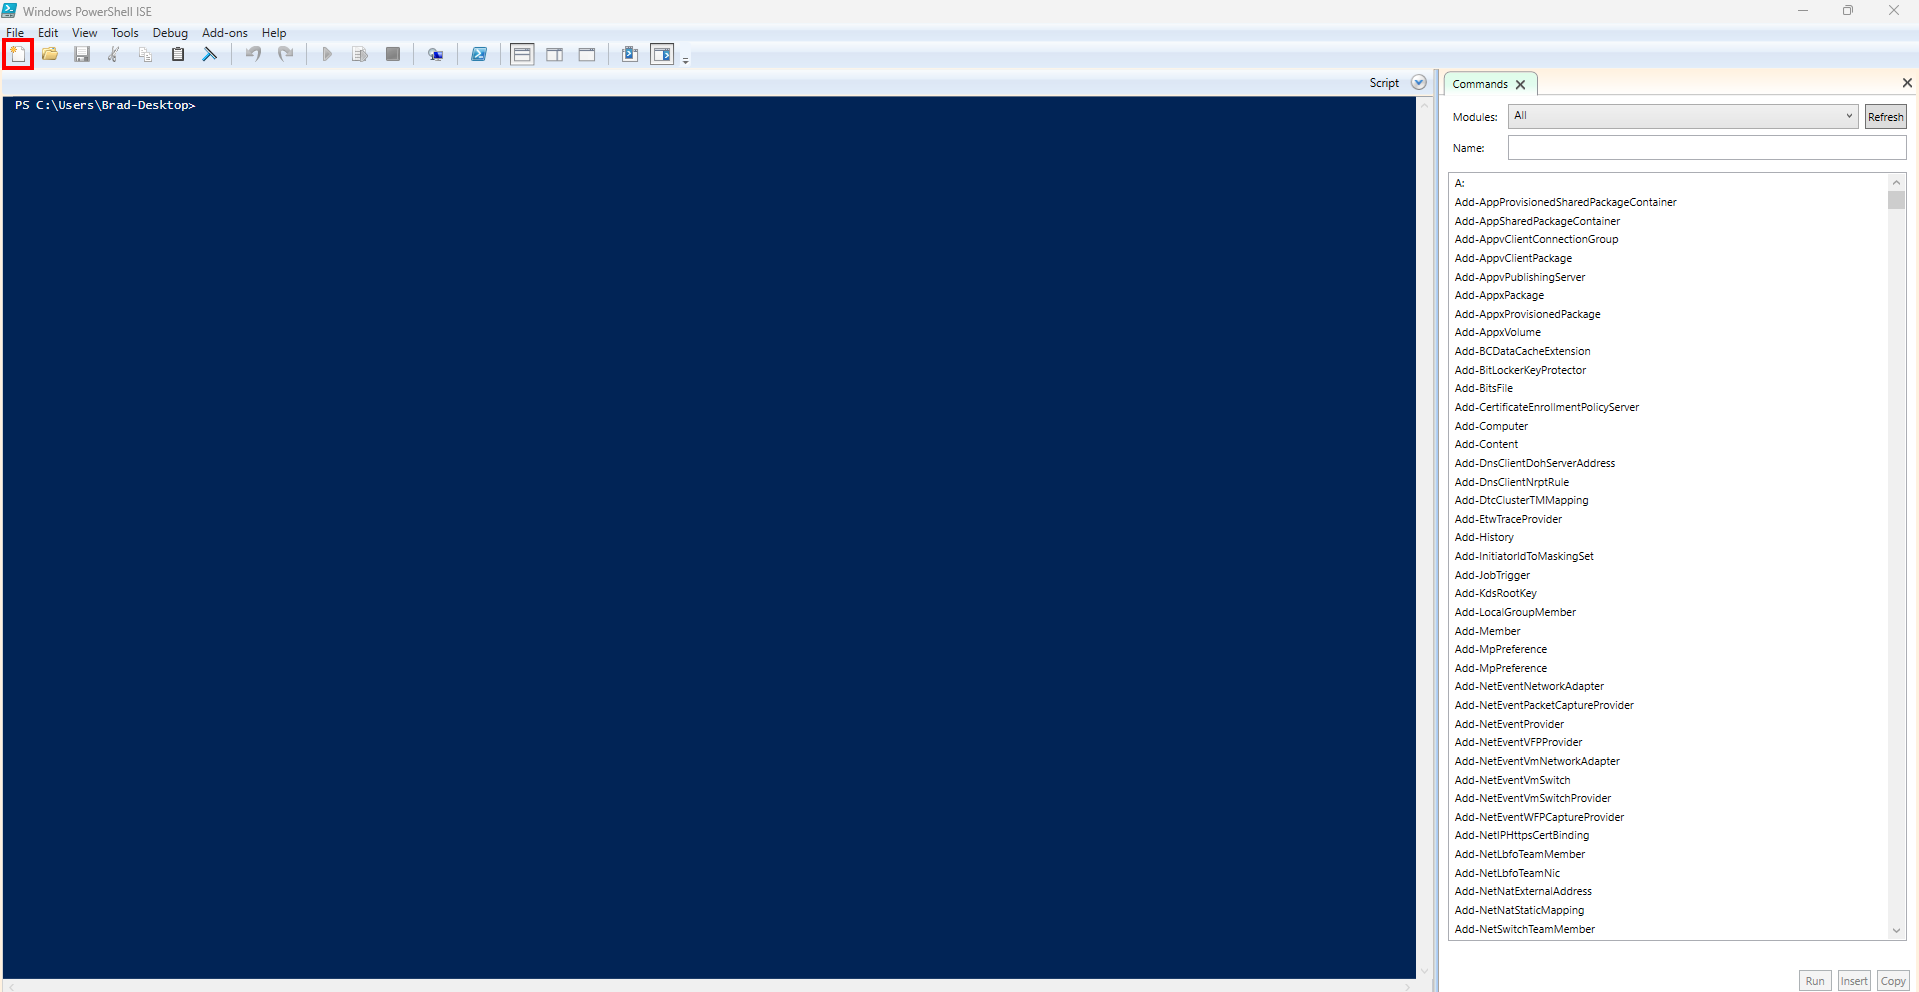
From here you can type in your commands like we had before but instead of directly putting into the shell, we can put them into our new script. This means we can plan out some of our commands and how we want them to look and what other options and additional commands we would like to add. You can see I put some of the commands that we used earlier. They haven’t been run yet but if you clicked on the green play button it would run all of those commands in the order they are on the screen.
We are just barely scratching the surface here when it comes to PowerShell and PowerShell ISE. I plan to have many more articles covering all of the amazingly cool things you can do in PowerShell as a Windows admin. It is something that I have used in every job I have had and used at least once if not more a day to complete basic tasks and quickly and easily gather information or make updates. Learning PowerShell will make you a very valuable asset to any company.